GSC provides you with Google's own data about your website: search rankings, clicks, position, and much more. It's a free tool that can help you with your search strategy.
Google Search Console overview
Benefits and limitations
Google Search Console offers valuable data, but it's not necessarily precise as it still has elements of aggregation and estimation. However, it remains a helpful starting point for optimizing your website's search performance.
Setting Up Google Search Console
Step 1: Access Google Search Console
Search for "Google Search Console" on Google or go directly to the GSC website.
Click "Start Now" to begin the setup process.

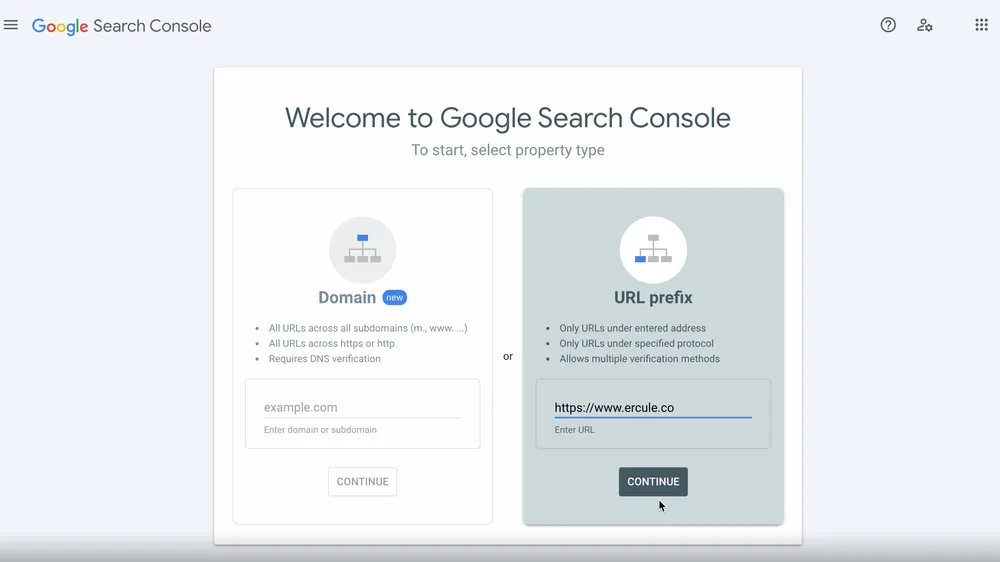
Step 2: Choose Domain or URL Prefix

You have two options here:
- Set up the entire domain
- Set up an individual URL prefix.
The domain option is more comprehensive, but the URL prefix is easier to set up.
(We’ll provide directions for setting up both options.)
Once you’ve entered the domain or URL in your chosen field, click “Continue.”
Step 3: Verify Ownership
If you selected “Domain” in the previous step, you only have one option for verifying your ownership of the website: Updating your DNS records.
If you selected “URL Prefix” in the previous step, you can use any of the following methods to verify ownership:
- Update your DNS records
- Upload an HTML file to your website
- Add a meta tag to your homepage
- Use Google Analytics
- Use Google Tag Manager
We’ll review all of the above in this section.
(Your website administrator or IT support should be able to help you out with any frustrations during this step.)
Use your DNS records
DNS records tell the internet information about your site, so that people know how to actually get to your site.
If you’re setting up a domain, the image below is what you’ll see when asked to use your DNS records:

Note: If you’re setting this up for a domain, and are finding it really frustrating, you can always go back and set the property up as a URL prefix. To do that, enter your www domain in the URL prefix field.
If you’re setting up a URL prefix, the image below is what you’ll see when asked to use your DNS records:

Upload an HTML file to your website.

The HTML file proves to Google that you own the website. To find it, look at the documentation for your CMS.
You can also reach out to the person who runs your website. They should be able to upload an HTML file to the site route.
Add a meta tag to your homepage

Use Google Analytics. If you already have GA set up, you can hit “Verify” in this window.

Use Google Tag Manager
Similarly, if you already have GTM set up, you can hit “Verify” in this window.

Step 4: Explore Google Search Console Features
That’s it! Your GSC should be all set up now.

You can access all sorts of valuable information with Google Search Console, such as:
- Clicks and queries driving traffic to your website
- Core Web Vitals report
- Page Experience report
So click around and see what you find!
